
MC350 Inorganic Ultra-Wear-Resistant Colored Flooring
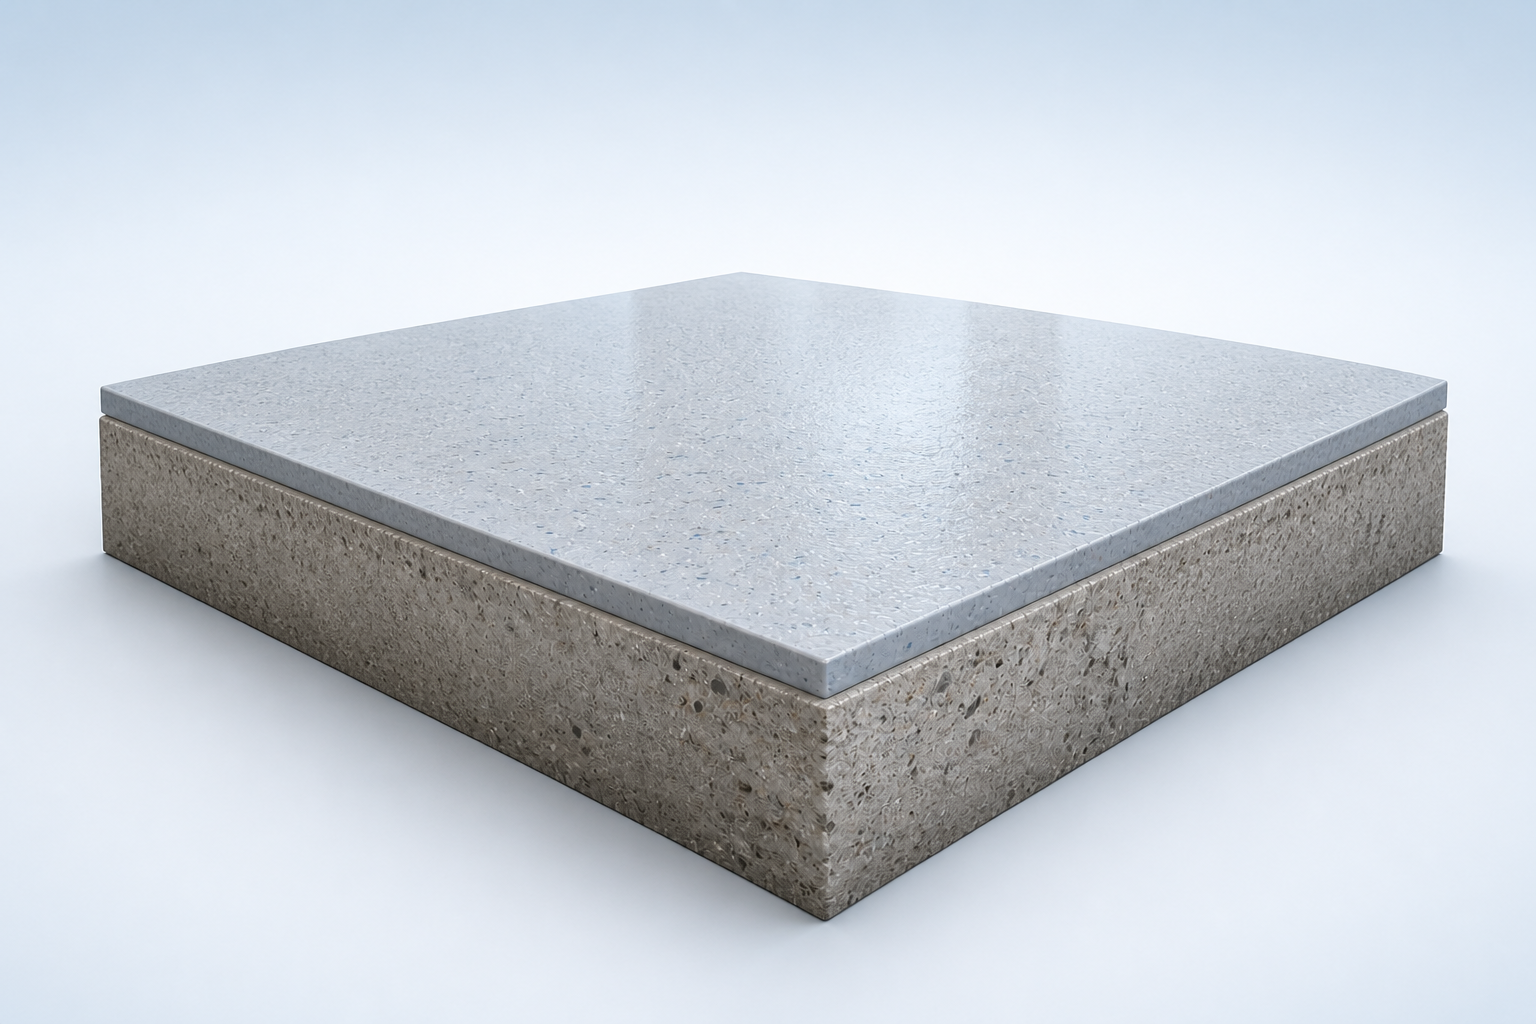
5–6 mm colored inorganic flooring for durable decorative surfaces.
- Thickness
- 5–6 mm
Overview
5–6 mm colored inorganic flooring for durable decorative surfaces.
Key Features
Wear-resistant surface
Wear-resistant surface
Color-integrated finish
Color-integrated finish
Designed for high-traffic floors
Designed for high-traffic floors
Application Scope
- Commercial spaces
- Public buildings
- Industrial facilities
Technical Parameters
- Slump Flow
- ≥660 mm
- Dry Density
- Approx. 2,000 kg/m³
- Fire Performance
- Class A (A1)
- Declared Shrinkage
- 0.0007
- Final Setting Time
- ≤6 h
- Initial Setting Time
- ≥45 min
- Recommended Thickness
- 5–6 mm
- Tensile Bond Strength
- ≥1.0 MPa
- 24 h Compressive Strength
- ≥15.0 MPa
- 28 d Compressive Strength
- ≥35.0 MPa
Values shown are declared or reference values from the supplied product information. Final specifications, applicable test methods, and project suitability should be confirmed through the latest technical data sheet and order-specific review.
Process & Application Guidance
- Step 1
Substrate Inspection
Check structural readiness, flatness, surface strength, moisture, contamination, and existing defects before work begins.
- Step 2
Cleaning & Mechanical Preparation
Remove weak material and contamination, then prepare the surface profile required by the agreed system.
- Step 3
Drainage & Interface Details
Coordinate channels, penetrations, edges, and other interface details before the continuous floor layers are placed.
- Step 4
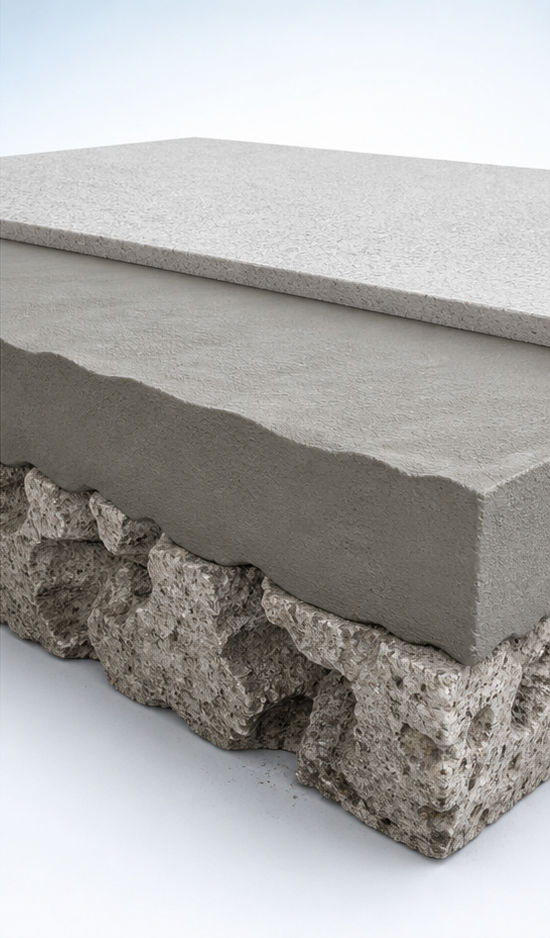
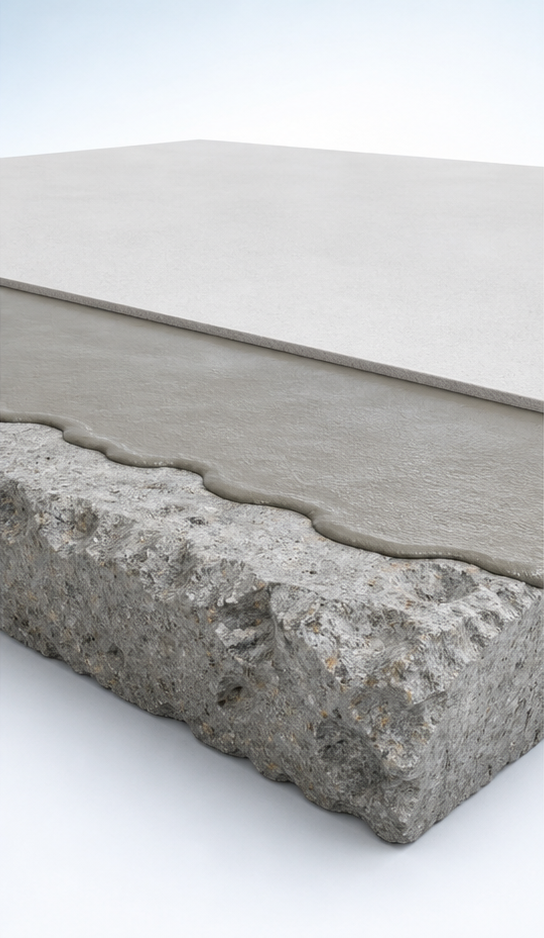
Bonding & Crack-Resistant Leveling
Apply the specified bonding treatment and, where required, a coordinated crack-resistant leveling layer.
- Step 5
Divider Layout & Terrazzo Placement
Set approved divider or pattern details, mix to the specified ratio, and place the inorganic terrazzo mortar continuously.
- Step 6
Opening, Grinding & Surface Repair
Open the surface within the confirmed project window, complete initial grinding, and repair pores or localized surface voids.
- Step 7
Densification, Fine Grinding & Polishing
Apply the specified densification treatment and progress through controlled fine-grinding and polishing stages.
- Step 8
Sealing, Protection & Curing
Complete the agreed sealing, stain-resistance, surface protection, and curing steps before inspection and handover.
Request MC350 Technical Data
Share your project details and our technical team will respond with specifications, documentation, or sample availability.